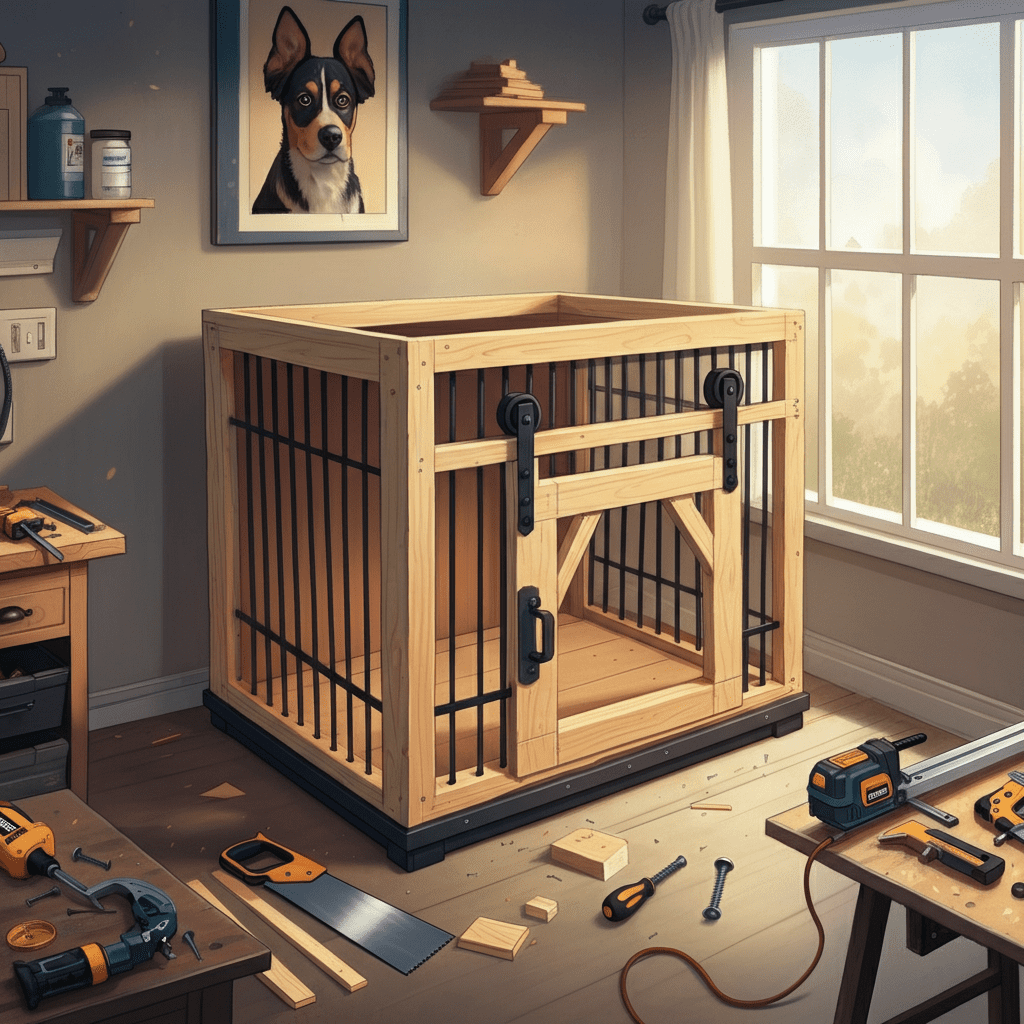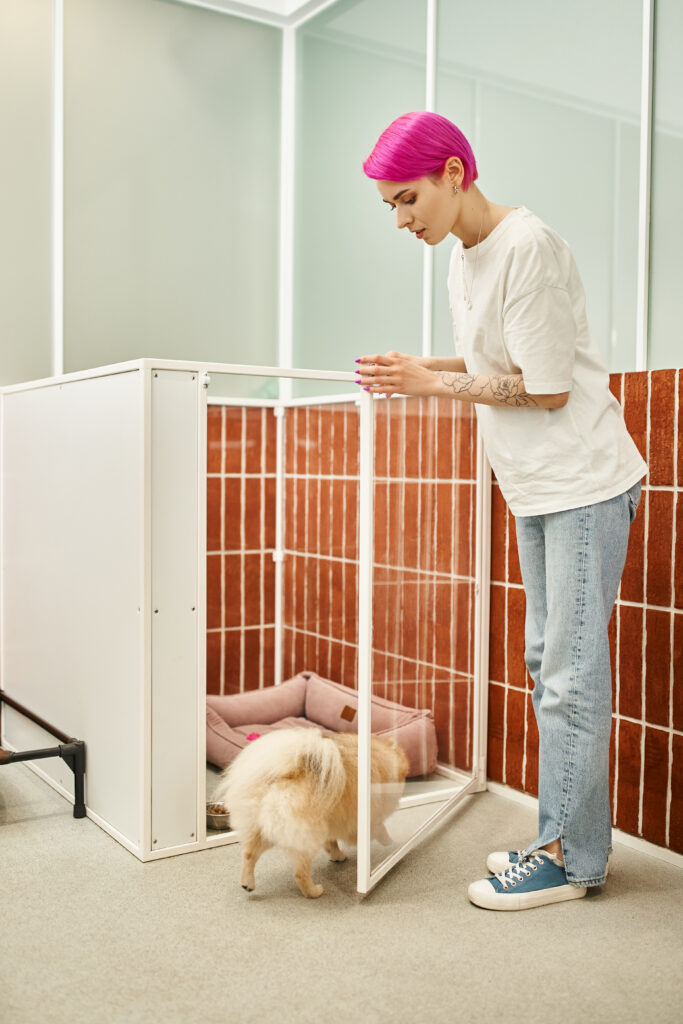
Looking to build the perfect home for your furry friend? How to Build a Custom Dog Crate with Simple Materials saves you money and allows you to design something functional and personal for your pet. Whether you’re a seasoned DIY enthusiast or jumping into your first craft project, this guide will walk you through creating a custom dog crate using affordable materials.
With just a handful of tools, some wood, and some time, you can create a sturdy, comfortable, and stylish crate that you and your dog will love. Plus, it’s a fun way to channel your creativity while making life cozier for your canine companion!!
Why Build a Custom Dog Crate?
A custom dog crate offers several advantages over store-bought designs:
- Personalized Style: You can choose the materials, colours, and extra features to match your home’s decor.
- Tailored Comfort: Create a crate that perfectly fits your dog’s size and needs, ensuring comfort and security.
- Cost-Effective: Store-bought crates can be expensive! Building your own is often more affordable, and you can even use existing materials.
- Fun Project: Building your dog’s crate is a rewarding DIY activity, perfect for combining your love for pets with your passion for crafting.
Excited yet? Grab your tools and enthusiasm, and let’s get started!
Materials You’ll Need
Before crafting, gather the following essential tools and materials for your DIY dog crate project.
Essential Tools
- Power drill or screwdriver
- Saw (hand saw or electric, depending on preference)
- Measuring tape
- Hammer and nails
- Sandpaper
Materials
- 2×4 wooden boards (for the frame and base): Durable and widely available, these will form the structure of your crate.
- Plywood sheets (for walls and back): Ensure they’re smooth and splinter-free for your dog’s safety.
- Metal bars (for ventilation): These will provide visibility and airflow for your dog.
- Hinges and a lock (for the door): For easy access and secure closure.
- Screws and nails (to fasten everything together).
Suggested Material Alternatives for Customization
- Reclaimed wood for a rustic look.
- PVC pipes or metal frames if you prefer a more industrial-style crate.
- Paint or wood stain for a polished finish.
Step-by-Step Instructions to Build Your Custom Dog Crate

Follow these beginner-friendly steps to create a dog crate that’s both functional and stylish.
Step 1. Prepare the Base Frame
Start by constructing the foundation of your crate.
- Cut your 2×4 boards to size, ensuring the dimensions allow your dog enough room to lie down, stand, and turn around comfortably.
- Assemble the base into a sturdy rectangular frame using screws to fasten the corners together.
- Use sandpaper to smooth down any rough edges to prevent future splinters.
Pro Tip: Double-check your measurements to ensure the crate’s stability—accuracy at this step sets the tone for the whole project!
Step 2. Construct the Walls and Frame
Next, build the sides and frame of your crate.
- Cut more 2×4 boards to serve as vertical and horizontal beams for the walls.
- Assemble two sides, attaching the wood pieces with screws and a pocket hole jig for stronger, cleaner joints.
- Secure the side panels to your base using screws.
- For a decorative touch, consider carving or painting designs onto the frame.
Optional: Add plywood panels for extra structure or unique designs.
Step 3. Install the Metal Bars
Metal bars are key for ventilation and visibility.
- Measure and cut the metal bars to fit your crate’s sides, front, and door.
- Attach them securely using screws or metal brackets.
- Space the bars evenly to ensure safety—your dog should not be able to squeeze through or get stuck!
Safety Tip: Ensure the bars are smooth and free of sharp edges. You don’t want your pup to injure themselves accidentally.
Step 4. Build the Door
It’s time to add a functional and stylish door!
- Construct a door frame using more 2×4 boards.
- Attach metal bars within the frame for ventilation.
- Use hinges to mount the door onto the crate.
- Secure a locking mechanism, like a latch or sliding bolt, to ensure it stays shut when needed.
Customization Idea: Try a barn or sliding door style for something unique!
Step 5. Assemble the Final Crate
Now, bring everything together!
- Attach the back and front frames to the already-built sides using screws and brackets.
- Double-check the alignment and fasten everything securely.
- Fill any gaps or imperfections with wood filler, then sand the entire structure for a polished finish.
Optional Customization Ideas
Want to make your dog’s crate genuinely one-of-a-kind? Here are some fun ideas to elevate your design!
- Add Color or Stain
Paint or stain the wood to match your home decor. A sleek black, rustic oak or even a pop of colour can turn the crate into a stylish piece of furniture.
- Include Comfort Features
Place a soft cushion or mattress inside for your dog’s comfort. You can even add a blanket or toys to make it extra inviting.
- Decorative Accents
Add a nameplate with your dog’s name, or include stencilled designs on the sides of the crate for a personal touch.
Keep Safety in Mind

While getting caught up in the excitement of building is easy, always prioritize safety for your pup.
- Thoroughly sand all surfaces and edges to avoid splinters.
- Ensure all screws and nails are flush with the wood or fastened securely.
- Regularly inspect the crate over time to ensure it remains secure and comfortable for your dog.
With these precautions, your dog’s home will be both cosy and safe.
Enjoy Your Handcrafted Dog Crate!
Congratulations! You’ve built a safe, stylish, custom dog crate that saves both money and space in your home. Your furry friend now has their very own sanctuary, designed with love and care.
Remember, this project is as much about the process as it is the end result. Get creative, have fun, and customize the crate to suit your dog’s unique personality.
Want more DIY pet projects or crate inspiration? Subscribe to our email newsletter for free dog crate plans, tips, and ideas—or share your completed crate with us on social media. We’d love to see your creations!


