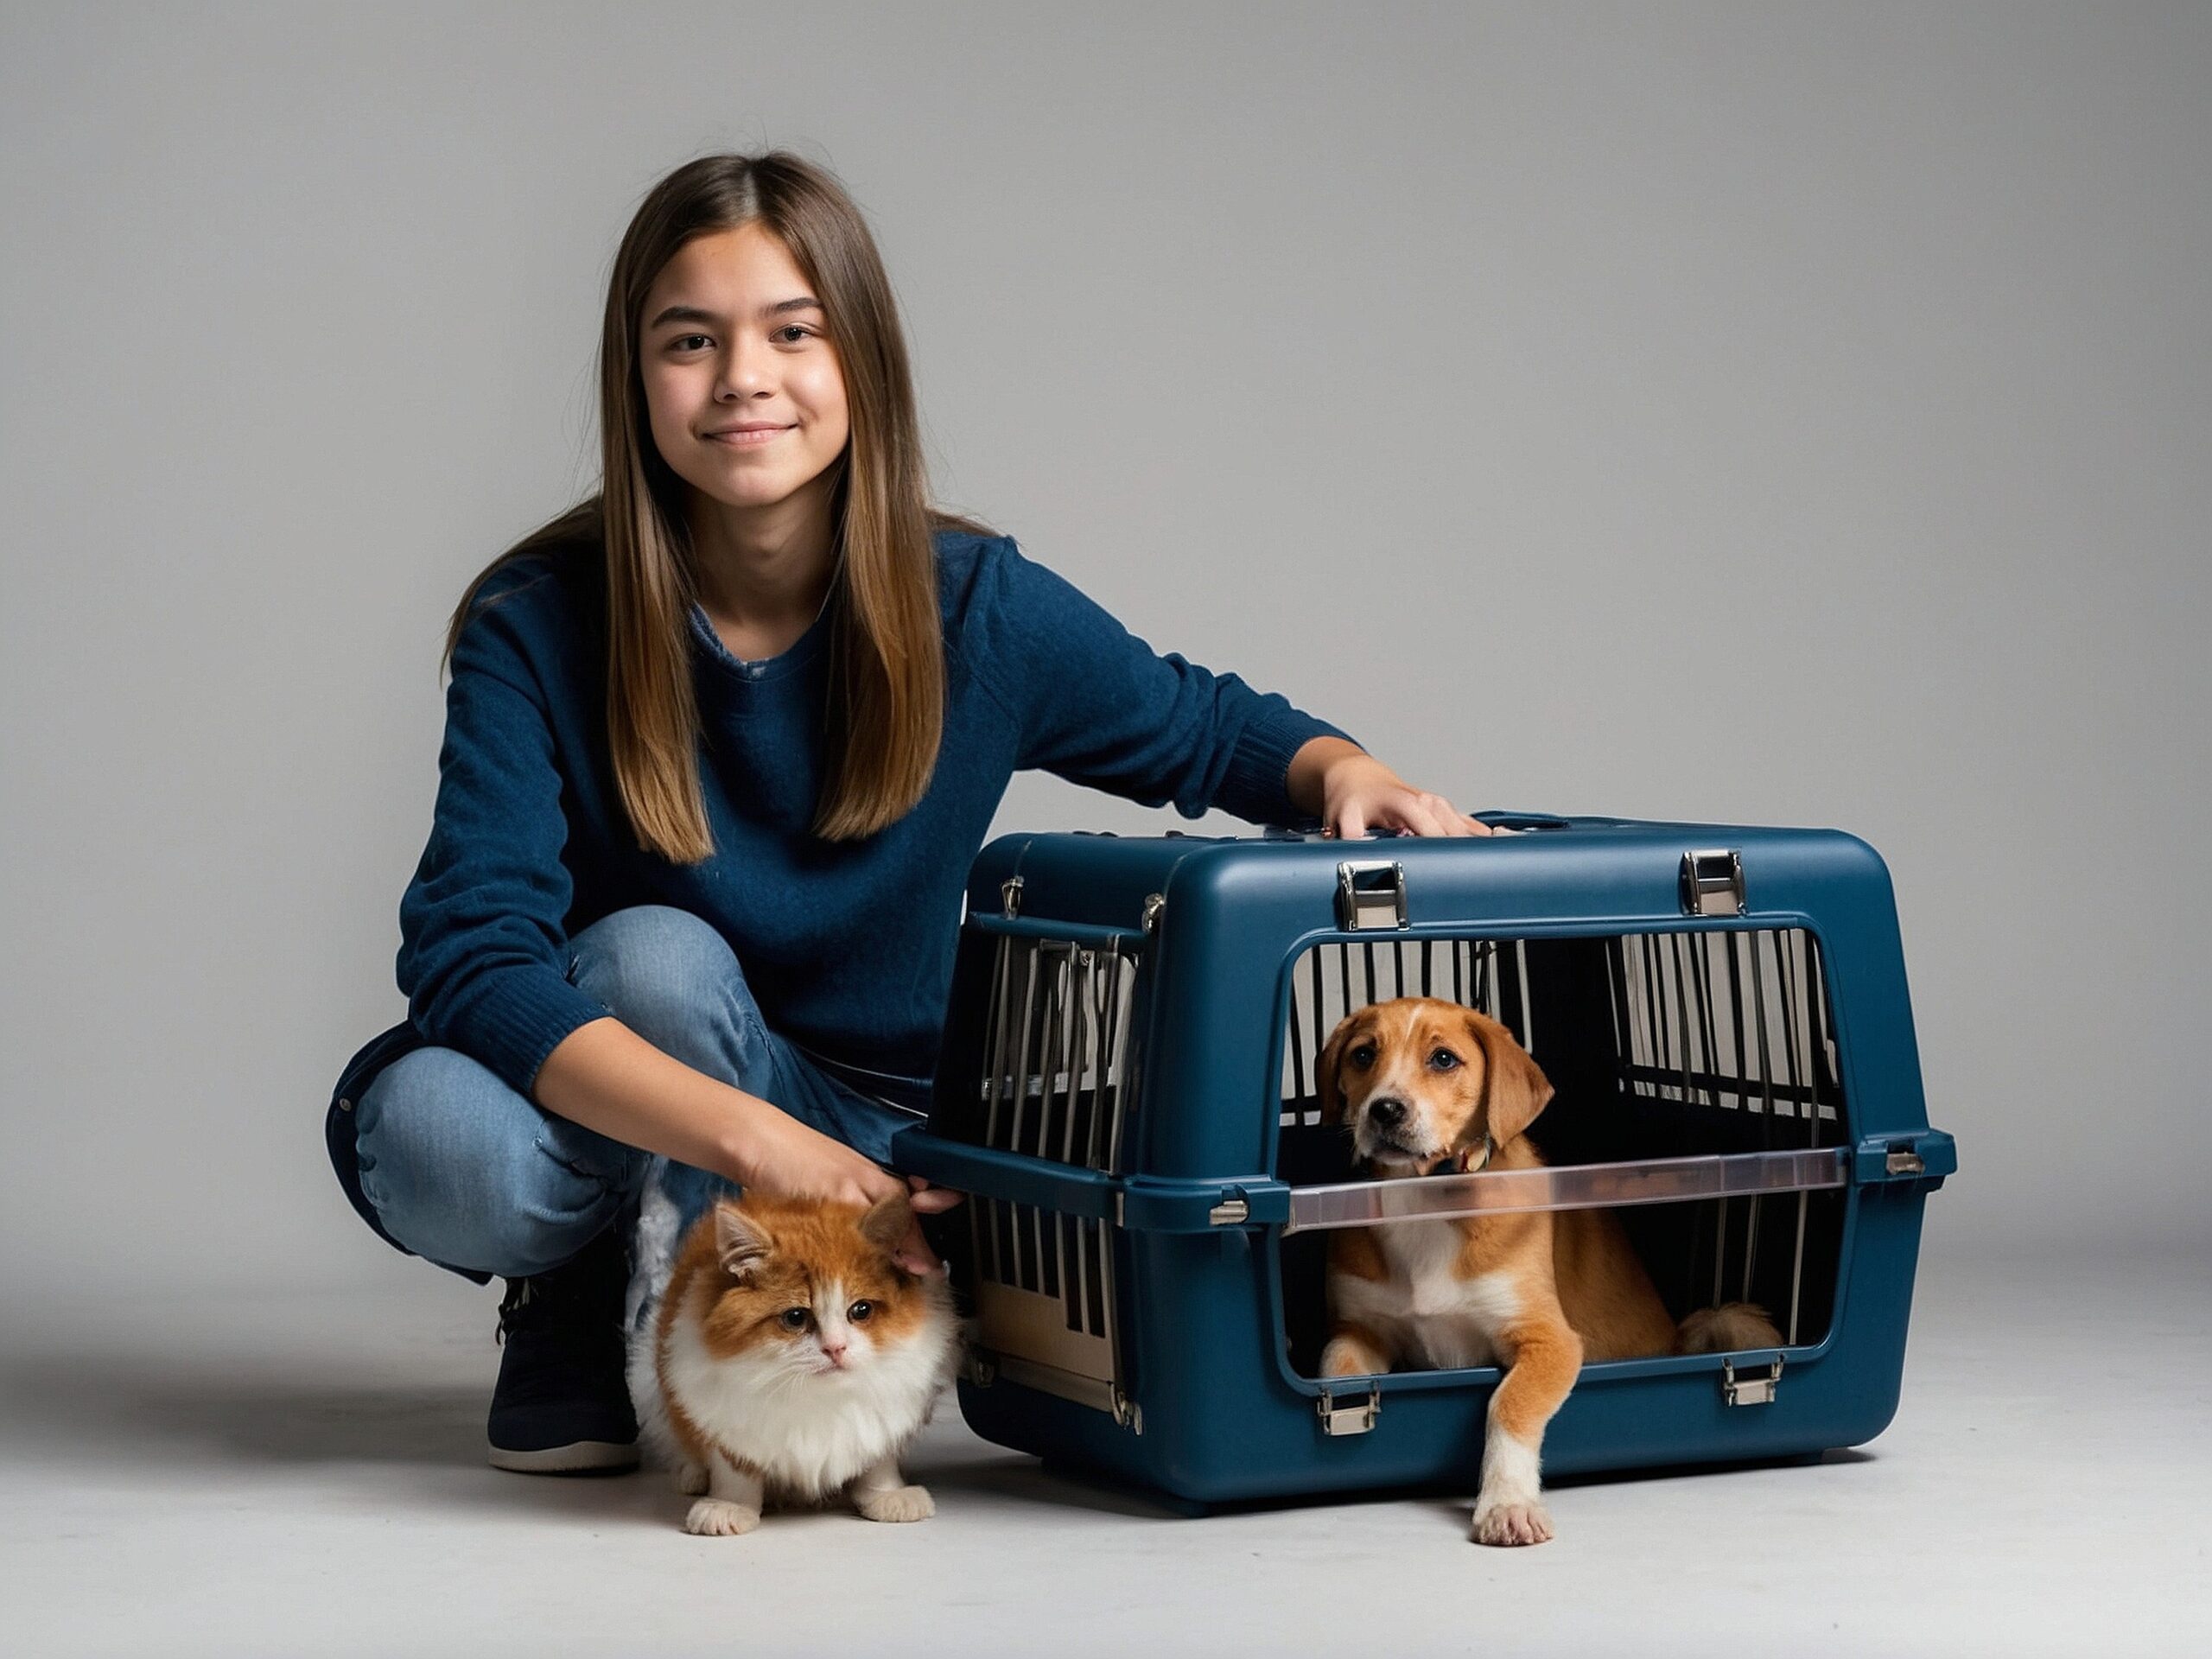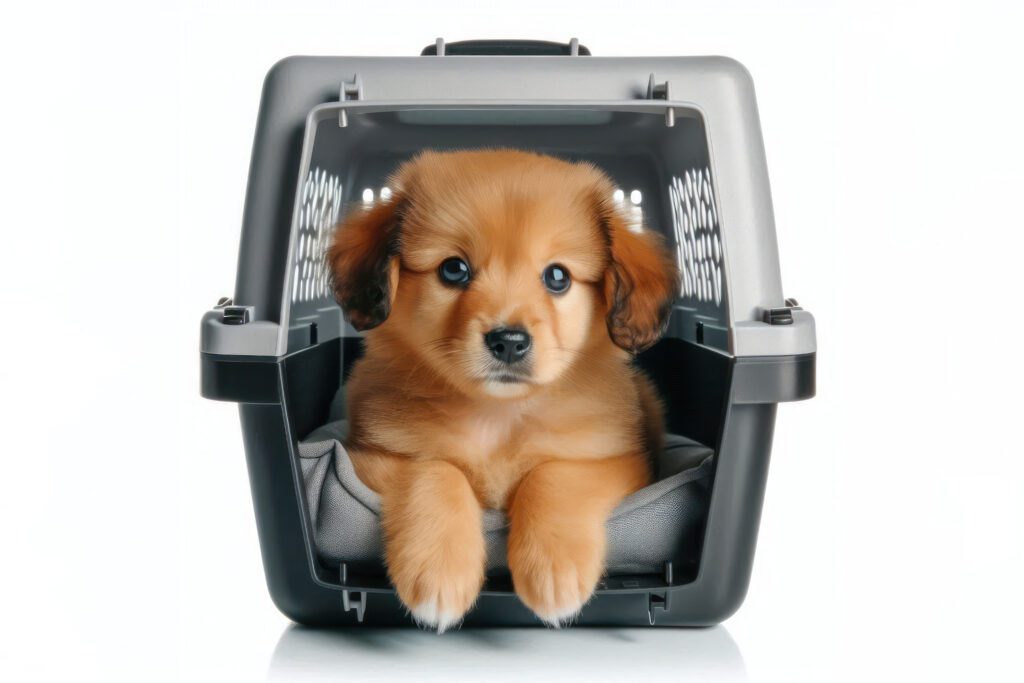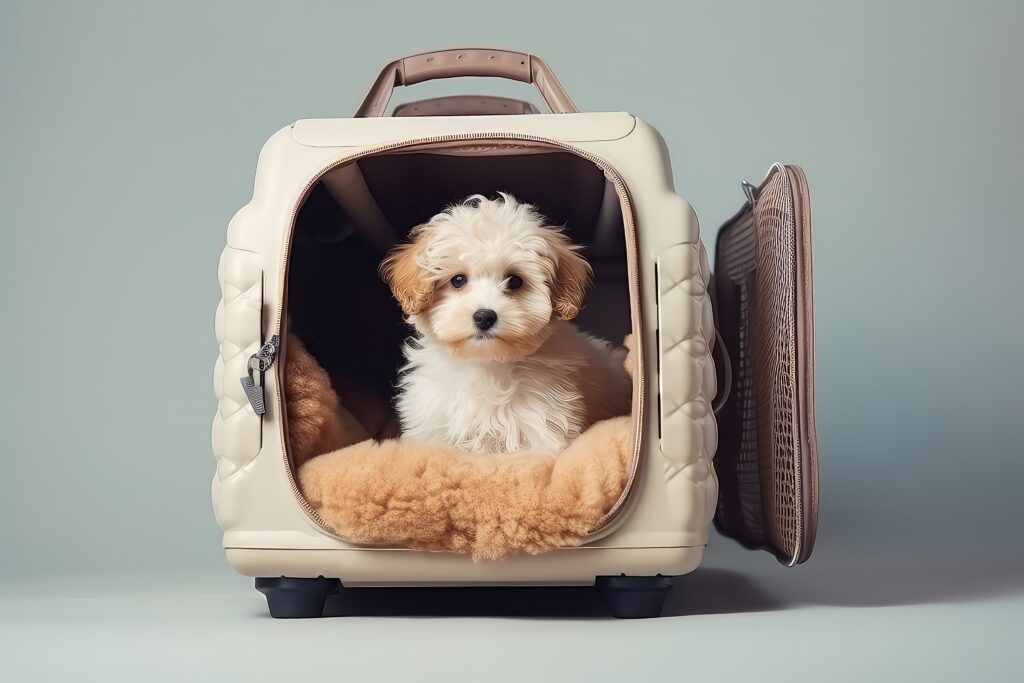
Welcoming a new puppy into your home is an exciting experience, but the responsibility of training them can feel overwhelming, especially for first-time owners. Crate training is one of the most effective training tools for raising a well-behaved puppy. Done correctly, crate training helps with housebreaking, provides your puppy a safe haven, and promotes good behavior when you’re away.
This step-by-step guide will teach you the best way to crate-train your puppy with gentle, positive reinforcement techniques. By the end of this post, you’ll learn how to turn the crate into your puppy’s favorite space.
Why Crate Training is Essential for Puppies
Crate training leverages a dog’s natural denning instincts. Dogs are instinctively drawn to small, enclosed spaces that feel safe and secure—just like a den. When introduced gradually and positively, crates can give puppies a space to relax, unwind, and feel safe.
Here are some reasons why crate training is invaluable:
- Safety: A crate provides a safe space for your puppy when you can’t supervise them, preventing accidents and destructive behavior.
- Housebreaking: Puppies are less likely to soil their “den,” which helps teach bladder and bowel control.
- Comfort: A well-introduced crate becomes a cozy bed where your pup can rest quietly.
- Travel and Vet Visits: If your puppy feels comfortable in a crate, transportation and vet visits are much less stressful.
The key to successful crate training? Patience, consistency, and positive reinforcement.
Crating Cautions: What to Keep in Mind
While crates are handy, improper usage can lead to setbacks or stress. Before you start, here are a few golden rules:
A Crate Should Never Be a Punishment

The crate should always be associated with positive experiences. Using it as a punishment will create fear and resistance, potentially derailing the process.
Avoid Over-Crating
While crates are safe spaces, puppies still need plenty of exercise, playtime, and human interaction. Puppies under 6 months shouldn’t be crated for more than 3–4 hours at a stretch.
Understand Your Puppy’s Limits
Young puppies can’t hold their bladder for long. Stick to age-appropriate crating schedules:
- 8–10 weeks old: 1 hour
- 11–14 weeks old: 2–3 hours
- 15–16 weeks old and older: 3–4 hours
If you’re gone for long stretches, consider alternatives like playpens, tethers, or hiring a pet sitter.
By starting with these foundational guidelines, you can create a stress-free setup for you and your puppy.
Choosing the Right Crate for Your Puppy
Not all dog crates are created equal. Choosing the right one largely depends on your puppy’s size, breed, and lifestyle. Here’s a quick breakdown of the options available:
Types of Crates
- Plastic Crates: Perfect for travel and providing a cozy, enclosed feeling. Best for shy or anxious pups.
- Wire Crates: Great ventilation and visibility often come with dividers to adjust for growth.
- Soft-sided Crates: Lightweight and portable—ideal for travel but less durable for everyday use.
Crate Size Matters
A properly sized crate should be big enough for your pup to stand up, turn around, and lie comfortably. Avoid oversized crates as they can encourage accidents in one corner.
Pro tip: Invest in an expandable crate with a divider panel for growing puppies. This allows you to resize the space as your puppy grows.
Step-by-Step Crate Training Guide
Now that your crate is ready, it’s time for training. Follow these steps for a smooth and successful experience:
Step 1: Introducing Your Puppy to the Crate
Start by placing the crate in a quiet but frequently used area, such as the living or family room. Keep the door open and add a comfy bed or blanket to make it inviting.
- Allow your puppy to explore the crate at their own pace—curiosity is key.
- Use treats and toys near the entrance to encourage them to sniff around.
- Example: Max, a curious Labrador puppy, sniffs the crate before cautiously stepping inside to retrieve his favorite toy.
Be patient—it may take several sessions for your puppy to enter the crate willingly.
Step 2: Feeding Your Puppy Inside the Crate
Once your puppy is comfortable near the crate, introduce meals inside it.
- Start by placing the food bowl near the crate and gradually move it inside over a few feedings.
- If your puppy hesitates, place the bowl closer to the entrance before gradually moving it inside.
- Please close the door briefly while they eat, then open it immediately after they’ve finished.
Increasing the time they stay in the crate after meals helps them associate the space with positive experiences.
Step 3: Practicing Short Crating Periods
Now that your puppy feels safe eating inside the crate work on having them stay for short periods.
- Use a simple command like “Crate” or “Go to bed” while showing them a treat, encouraging them inside.
- Close the door and sit nearby for 5–10 minutes at first.
- Gradually increase the time and start leaving the room for short intervals.
The goal is for your puppy to relax quietly in the crate for up to 30 minutes without you in sight.
Step 4: Leaving Your Puppy in the Crate When You’re Away

Once your puppy is comfortable being alone in the crate, you can begin leaving them there while you’re out.
- Crate them 5–20 minutes before leaving to avoid triggering stress.
- Keep departures low-key—overly emotional farewells can worsen separation anxiety.
- Leave a safe chew toy or puzzle feeder to keep them busy.
Vary when you crate your puppy so they don’t associate it solely with being left alone.
Step 5: Crate Training at Night
Crating at night helps with housebreaking and provides a safe sleeping spot.
- Keep the crate near your bed for the first few nights for young puppies to reassure them of your presence.
- Expect to wake up for nighttime potty breaks—puppies can’t hold it for long!
- Gradually move the crate to its permanent location, such as the living room or kitchen.
Example: Bella, a small Golden Retriever, happily sleeps through the night in her crate after just two weeks of consistent training.
Troubleshooting Common Crate Training Issues
Crate training isn’t always smooth sailing. Here are solutions to common challenges:
- Whining in the Crate: Ignore the whining unless it’s a potty signal. Reward quiet behavior.
- Puppy Won’t Enter the Crate: Use high-value treats like cheese or peanut butter to entice them.
- Accidents in the Crate: Ensure the crate is appropriately sized and stick to a consistent potty schedule.
- Separation Anxiety: Crate training alone won’t resolve this issue—use gradual desensitization techniques.
Tips for Successful Crate Training
For a smooth crate training process, keep these do’s and don’ts in mind:
✅ Do’s:
- Always use positive reinforcement—reward calm behavior with treats or praise.
- Make the crate cozy with a soft bed or blanket.
- Be consistent with your routines and commands.
❌ Don’ts:
- Never use the crate for punishment.
- Don’t leave your puppy crated for excessive periods.
- Avoid rushing the training process—patience is key.
Raise a Happy, Well-Crate-Trained Pup
Crate training is one of the best ways to provide your puppy safety, comfort, and structure. While the process may take time and patience, the results are well worth it—a happy dog that sees its crate as a secure retreat and a well-behaved companion in your home.
Stick to the steps outlined above, and you’ll see progress quickly. And remember, every puppy is different—consistency and positive reinforcement are your best tools. Happy training!


